13 October 2026
How to measure minimum access route width on a construction site
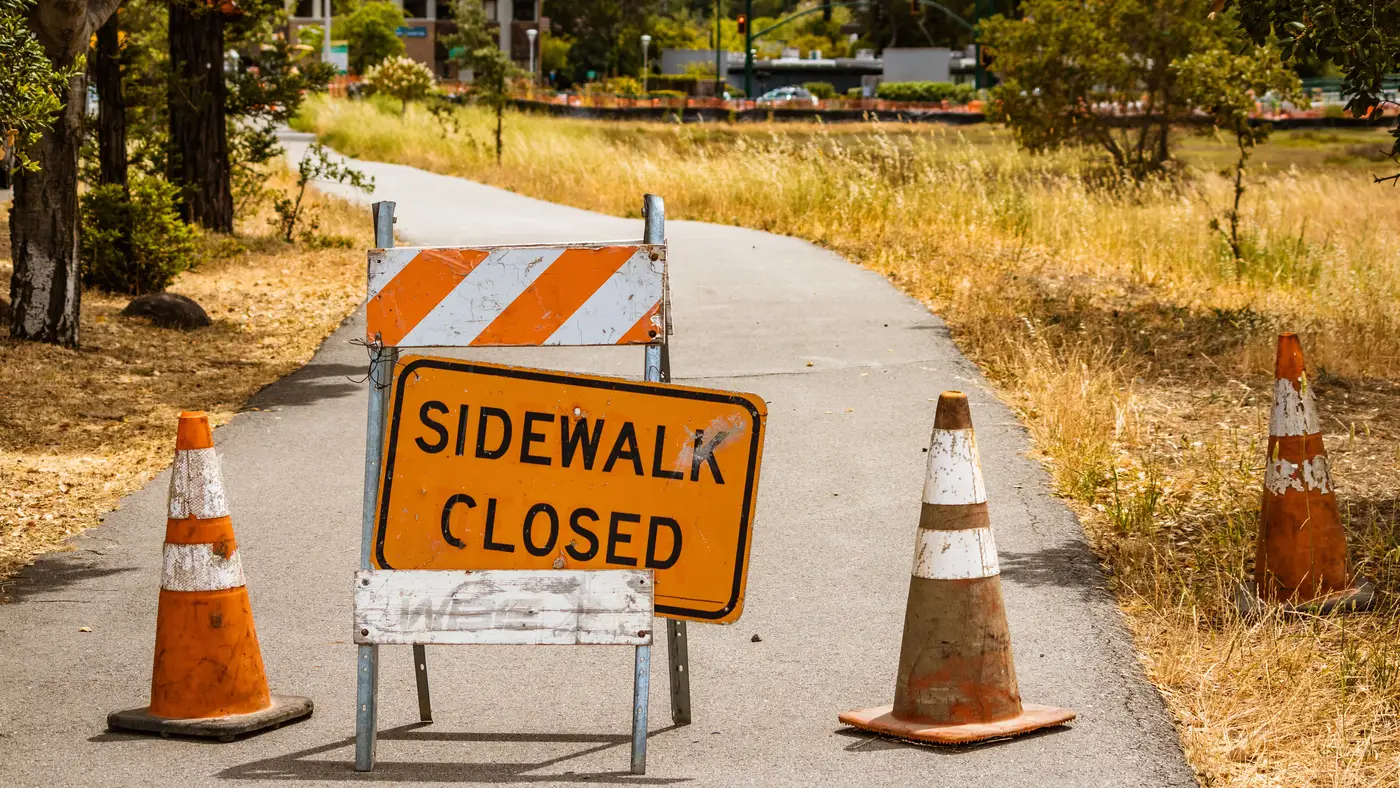
Minimum access route width isn't one number. It depends on what's using the route, how often, and what sits either side of it. Before you measure anything, work out which type of route you're standing on: vehicle, pedestrian, or shared, because the check differs for each.
What you're measuring
For a vehicle route, the figure that matters is the swept path of the largest or widest vehicle booked to use it: the concrete pump on its outriggers, the artic delivering steels, the mobile crane on its transport configuration, whichever is biggest. A swept path analysis gives you the turning envelope for that vehicle at the tightest corner on the route, plus the clearance your traffic management plan calls for either side. If your logistics plan was drawn up around a rigid wagon and the job later brings in an artic, the swept path changes and the old width figure stops being valid, even though nothing on the ground looks different.
For a pedestrian route, you're looking at clear, unobstructed width, measured face to face: from the hoarding, the stored materials, the scaffold base plate or whatever defines the edge on each side. Not from the painted line to the painted line if the paint sits inside the physical obstruction. A tape measure across the route at its narrowest point tells you what pedestrians actually get, which is often less than what the drawing shows, because drawings don't move laydown pallets or park a telehandler overnight.
Where a route carries both plant and pedestrians, check first whether segregation exists at all. If it does, check whether each side still meets its own minimum once the barrier or demarcation takes up its own footprint.
Where the plan and the site disagree
The site logistics plan sets out route widths at the design stage, based on the vehicles and pedestrian numbers expected at that point in the programme. The site itself moves every week. Material gets delivered and stacked against the nearest hoarding. A scaffold goes up a metre further out than the drawing showed. A plant operator parks for the afternoon because there's nowhere else convenient. None of that shows up as a breach until someone walks the route with a tape measure, by which point the narrowing might have been there for days.
Measuring on paper and measuring on the ground are two different jobs. The plan gives you the design width. The site gives you the width that's there, at that pinch point, on that day. A route can be compliant on the drawing and still fail in practice if laydown has crept, a skip has been dropped at the wrong spot, or a delivery vehicle is parked half on the route waiting to offload.
What to check, and how often
A sensible walk-round checks the route at its narrowest points first, not its widest, because that's where a breach matters. Corners, gate approaches, anywhere plant and pedestrians cross, and anywhere material storage sits close to the route edge. Measure face to face, not line to line. Check against the vehicle booked for that week, not the one the plan was designed around. And check segregation is still physically there, not just marked.
Most site teams don't struggle with the maths of measuring a route width. They struggle to know which of the dozens of routes on a live site has changed since last week, without walking every metre of hoarding to find out. A weekly overhead read of the whole site picks up where laydown has crept over a route line or where a gap in edge protection has opened up, so the walk-round starts with a list of what's moved rather than a blind sweep of the whole plan.
If your site logistics plan has more routes than your team has time to walk every week, it might be worth seeing what a standing overhead check flags before the next walk-round.